Making candles doesn't have to be a chore! It can be quite fun. If you need candles, I recommend setting aside an entire day and several pounds of wax to get all your candle making out-of-the-way while you have the whole production up and running. If you are just trying it out for the first time, don't sweat it! Relax, have fun, be safe. Above all, take your time!
Let's start with a list of supplies:
. Tall thin metal can to hold the melted beeswax. You want it taller than you intend your finished candles to be. Keep it thin to reduce the amount of wax you will need.
. Large saucepan that you can use for candle making and nothing else. Trust me, you WILL be getting wax in this pan!
. 10 + pounds of beeswax. (I prefer 100% beeswax candles but especially for your first attempt you shouldn't hesitate to supplement with paraffin.)
.Wicking. The size of your wicking depends on the finished candle you want to make. We made tapers and so used #2 cotton wicking. You can find a good one here.
. Weights for the bottoms of your wicks. Trust me, you cannot dip candles without weights. We took the advice of The West Ladies and used small nuts from the hardware store. They are the same as these.
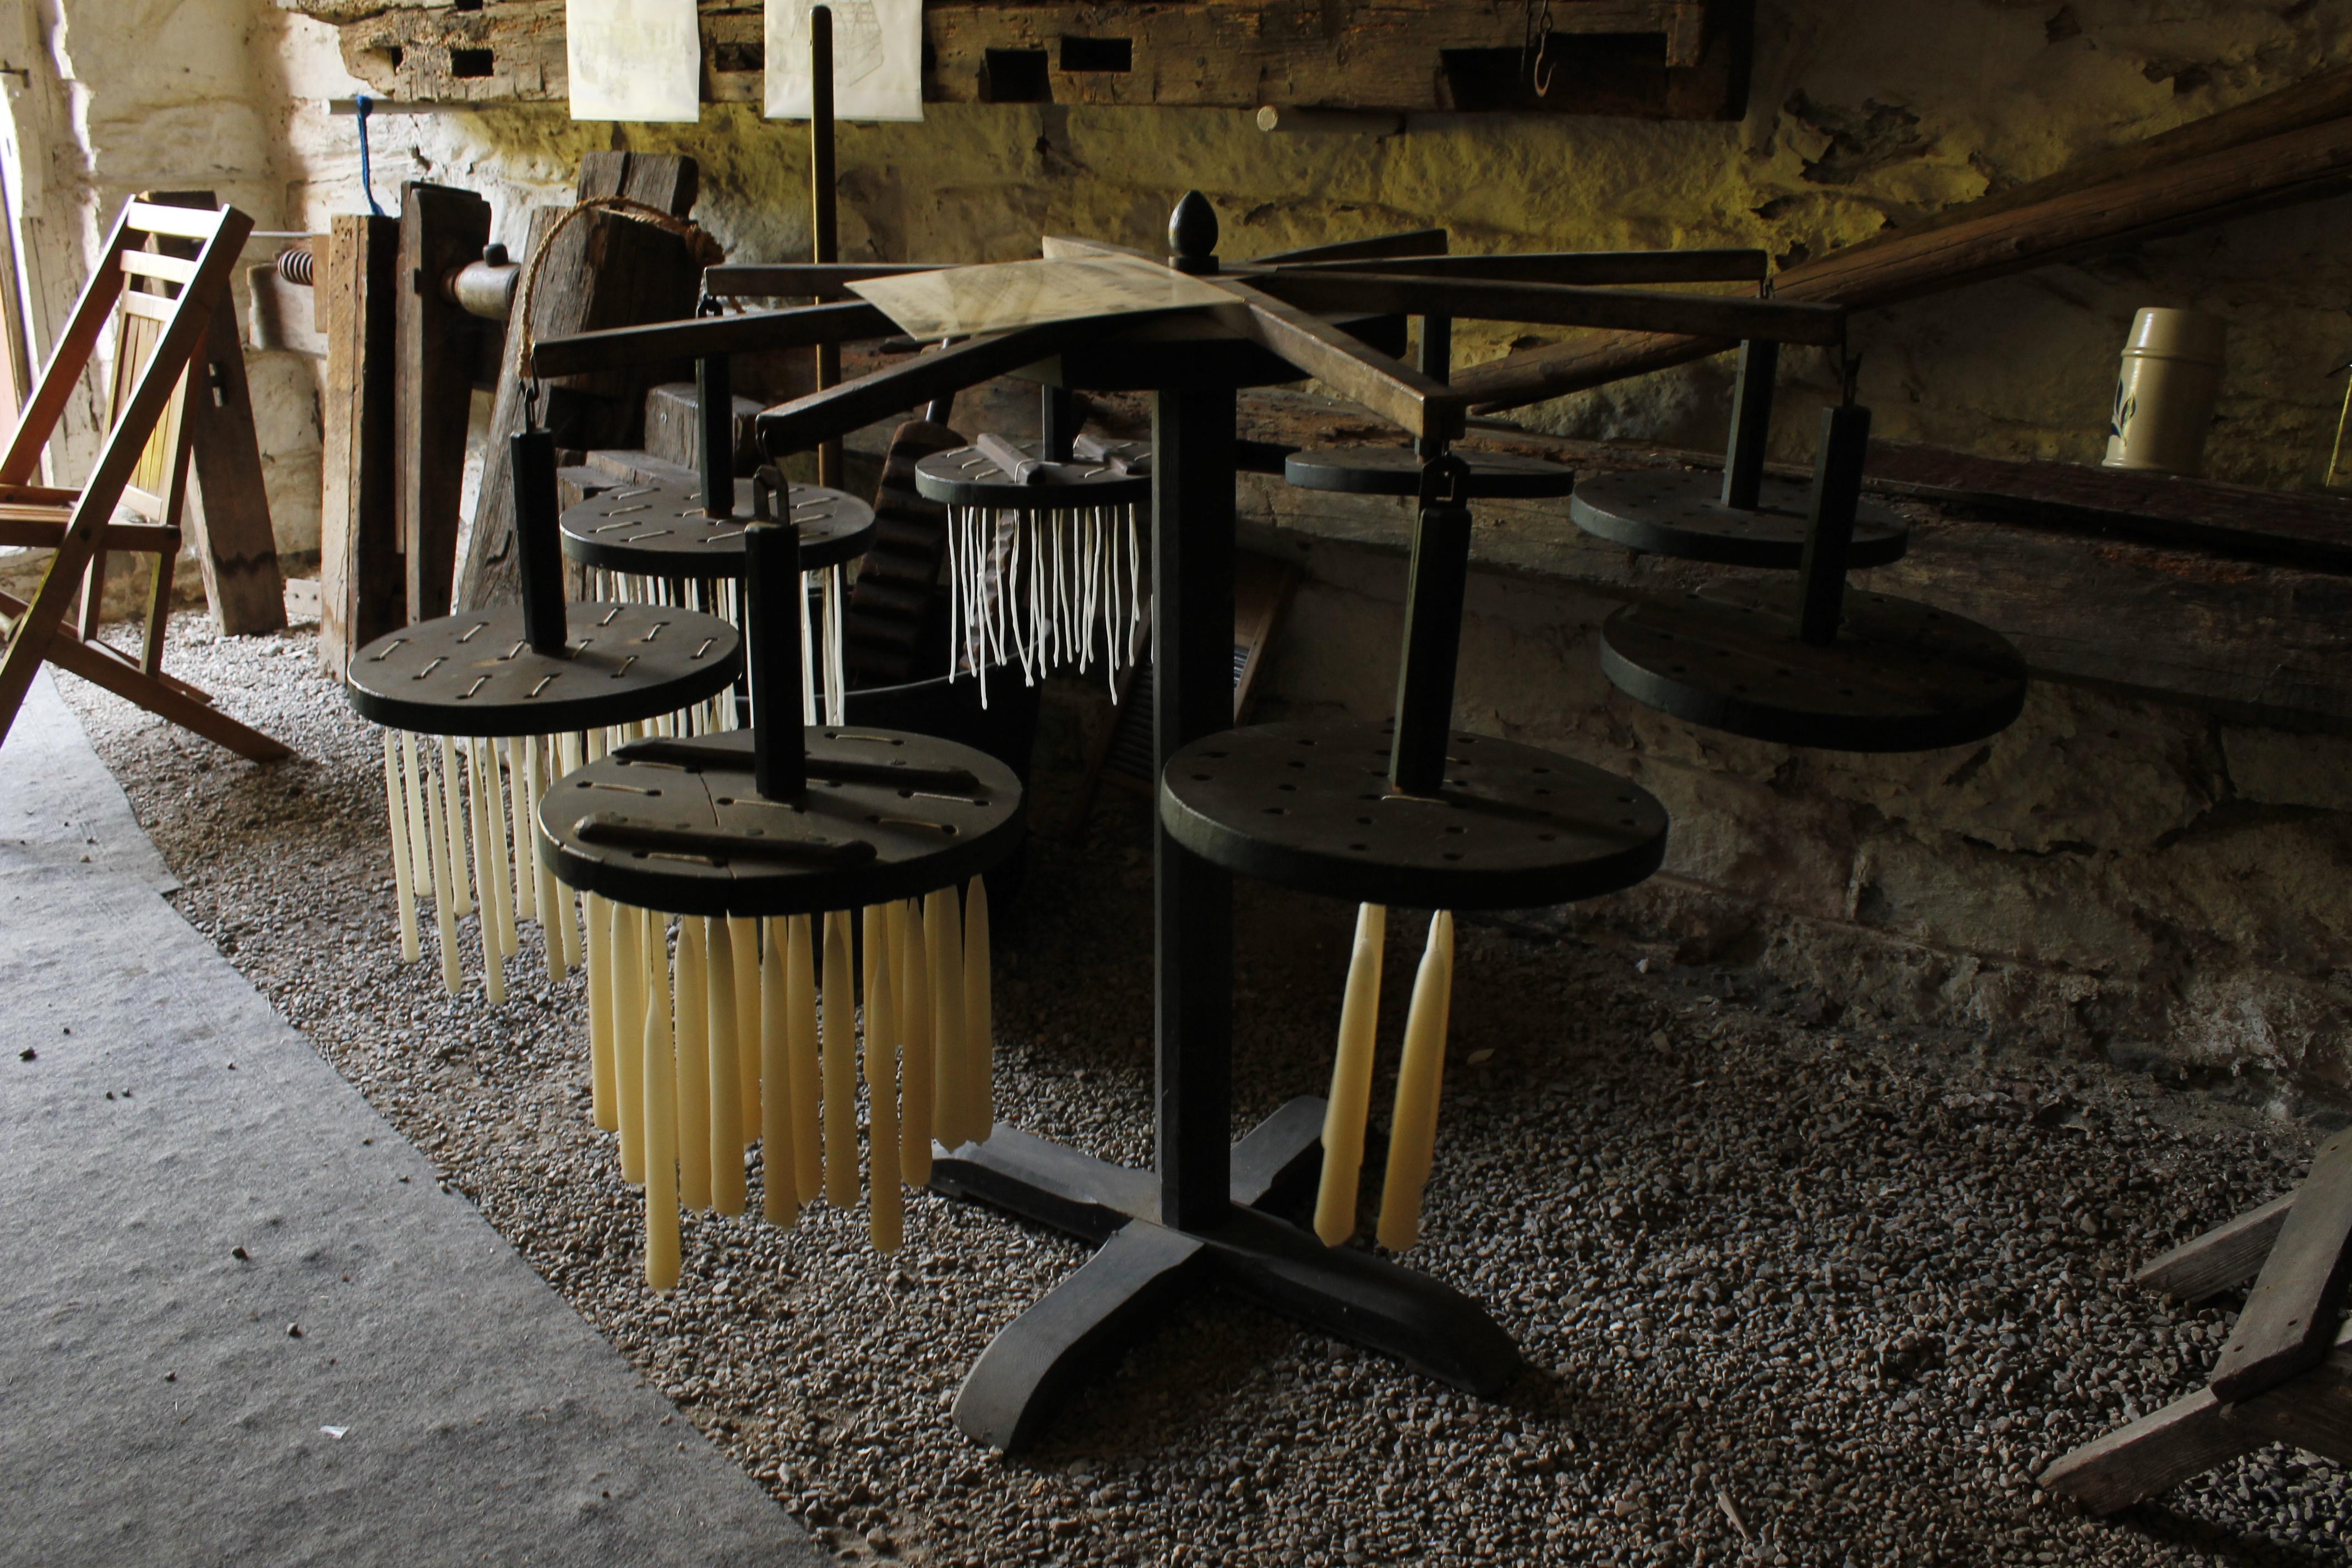
. Something to hang your candles on while they cool. The rack in the picture is certainly the deluxe version of this! We usually use our pasta drying rack.
Once you've assembled all of your supplies, it's time to measure out your wicks and precut them. Because you are dipping them, you should double the length you want your finished candles to be and then add 1.5 inches. For instance, if you want a 6 inch taper you will cut your wicking to 13.5 inches. The idea is to have enough wick to tie the weights to and have enough left over at the top to light!
After your wicks are cut and weighted, you can start melting you wax. Set your tall thin can into the saucepan. Add water to the saucepan almost to the top. Your "wax" can should be taller than your water! You don't want water getting into you wax. Set the water to boil and add wax into your wax can. Continue to add wax until the level reaches the desired height. As the wax begins to melt, you can lower the temp on the water. It doesn't have to be constantly boiling. If you notice the wax in the can begin to harden, simply raise the heat a little.
When your wax in the can is the desired height and is fully melted, you can start dipping! Hold your wick at the middle point and lower it straight down into the wax. Hover over the wax can for a few seconds to catch any drip and then hang your first "candles" onto the drying rack. Move on to the next wick and repeat. Once all the wicks have had one dip you can start re dipping the wicks. It's a simple as that! Continue re dipping the wicks until you have built up enough wax on the wick to make the candle the thickness you desire!
I hope this has encouraged you to try your hand at a new skill. There are plenty of tutorials on YouTube if you would like a visual demonstration!


