Tag Archives: diy

Bike ready for summer

Get Your Bike Ready For Summer!

Is your bike ready of summer? If you’re not sure, this article from ExpertEnough.com will get you started on your way to a road ready bike!

We all know that it’s important to get at least 30 minutes of exercise every day. That doesn’t have to mean a costly gym membership or grueling episodes on the elliptical in your basement! Why not haul the bike out of the garage and get the family out of the house for a ride!

Have you ever thought about doing your own bicycle maintenance, but were not sure where to start? Or maybe you felt that you were not really the bike mechanic type.
If you love cycling, learning to do your own bike maintenance and repairs is worth the effort. It allows you to get to know the workings of your bike better, and you will have a better understanding on how to keep it running at tip top shape. You do not need to know how to take apart your whole bicycle and reassemble it.
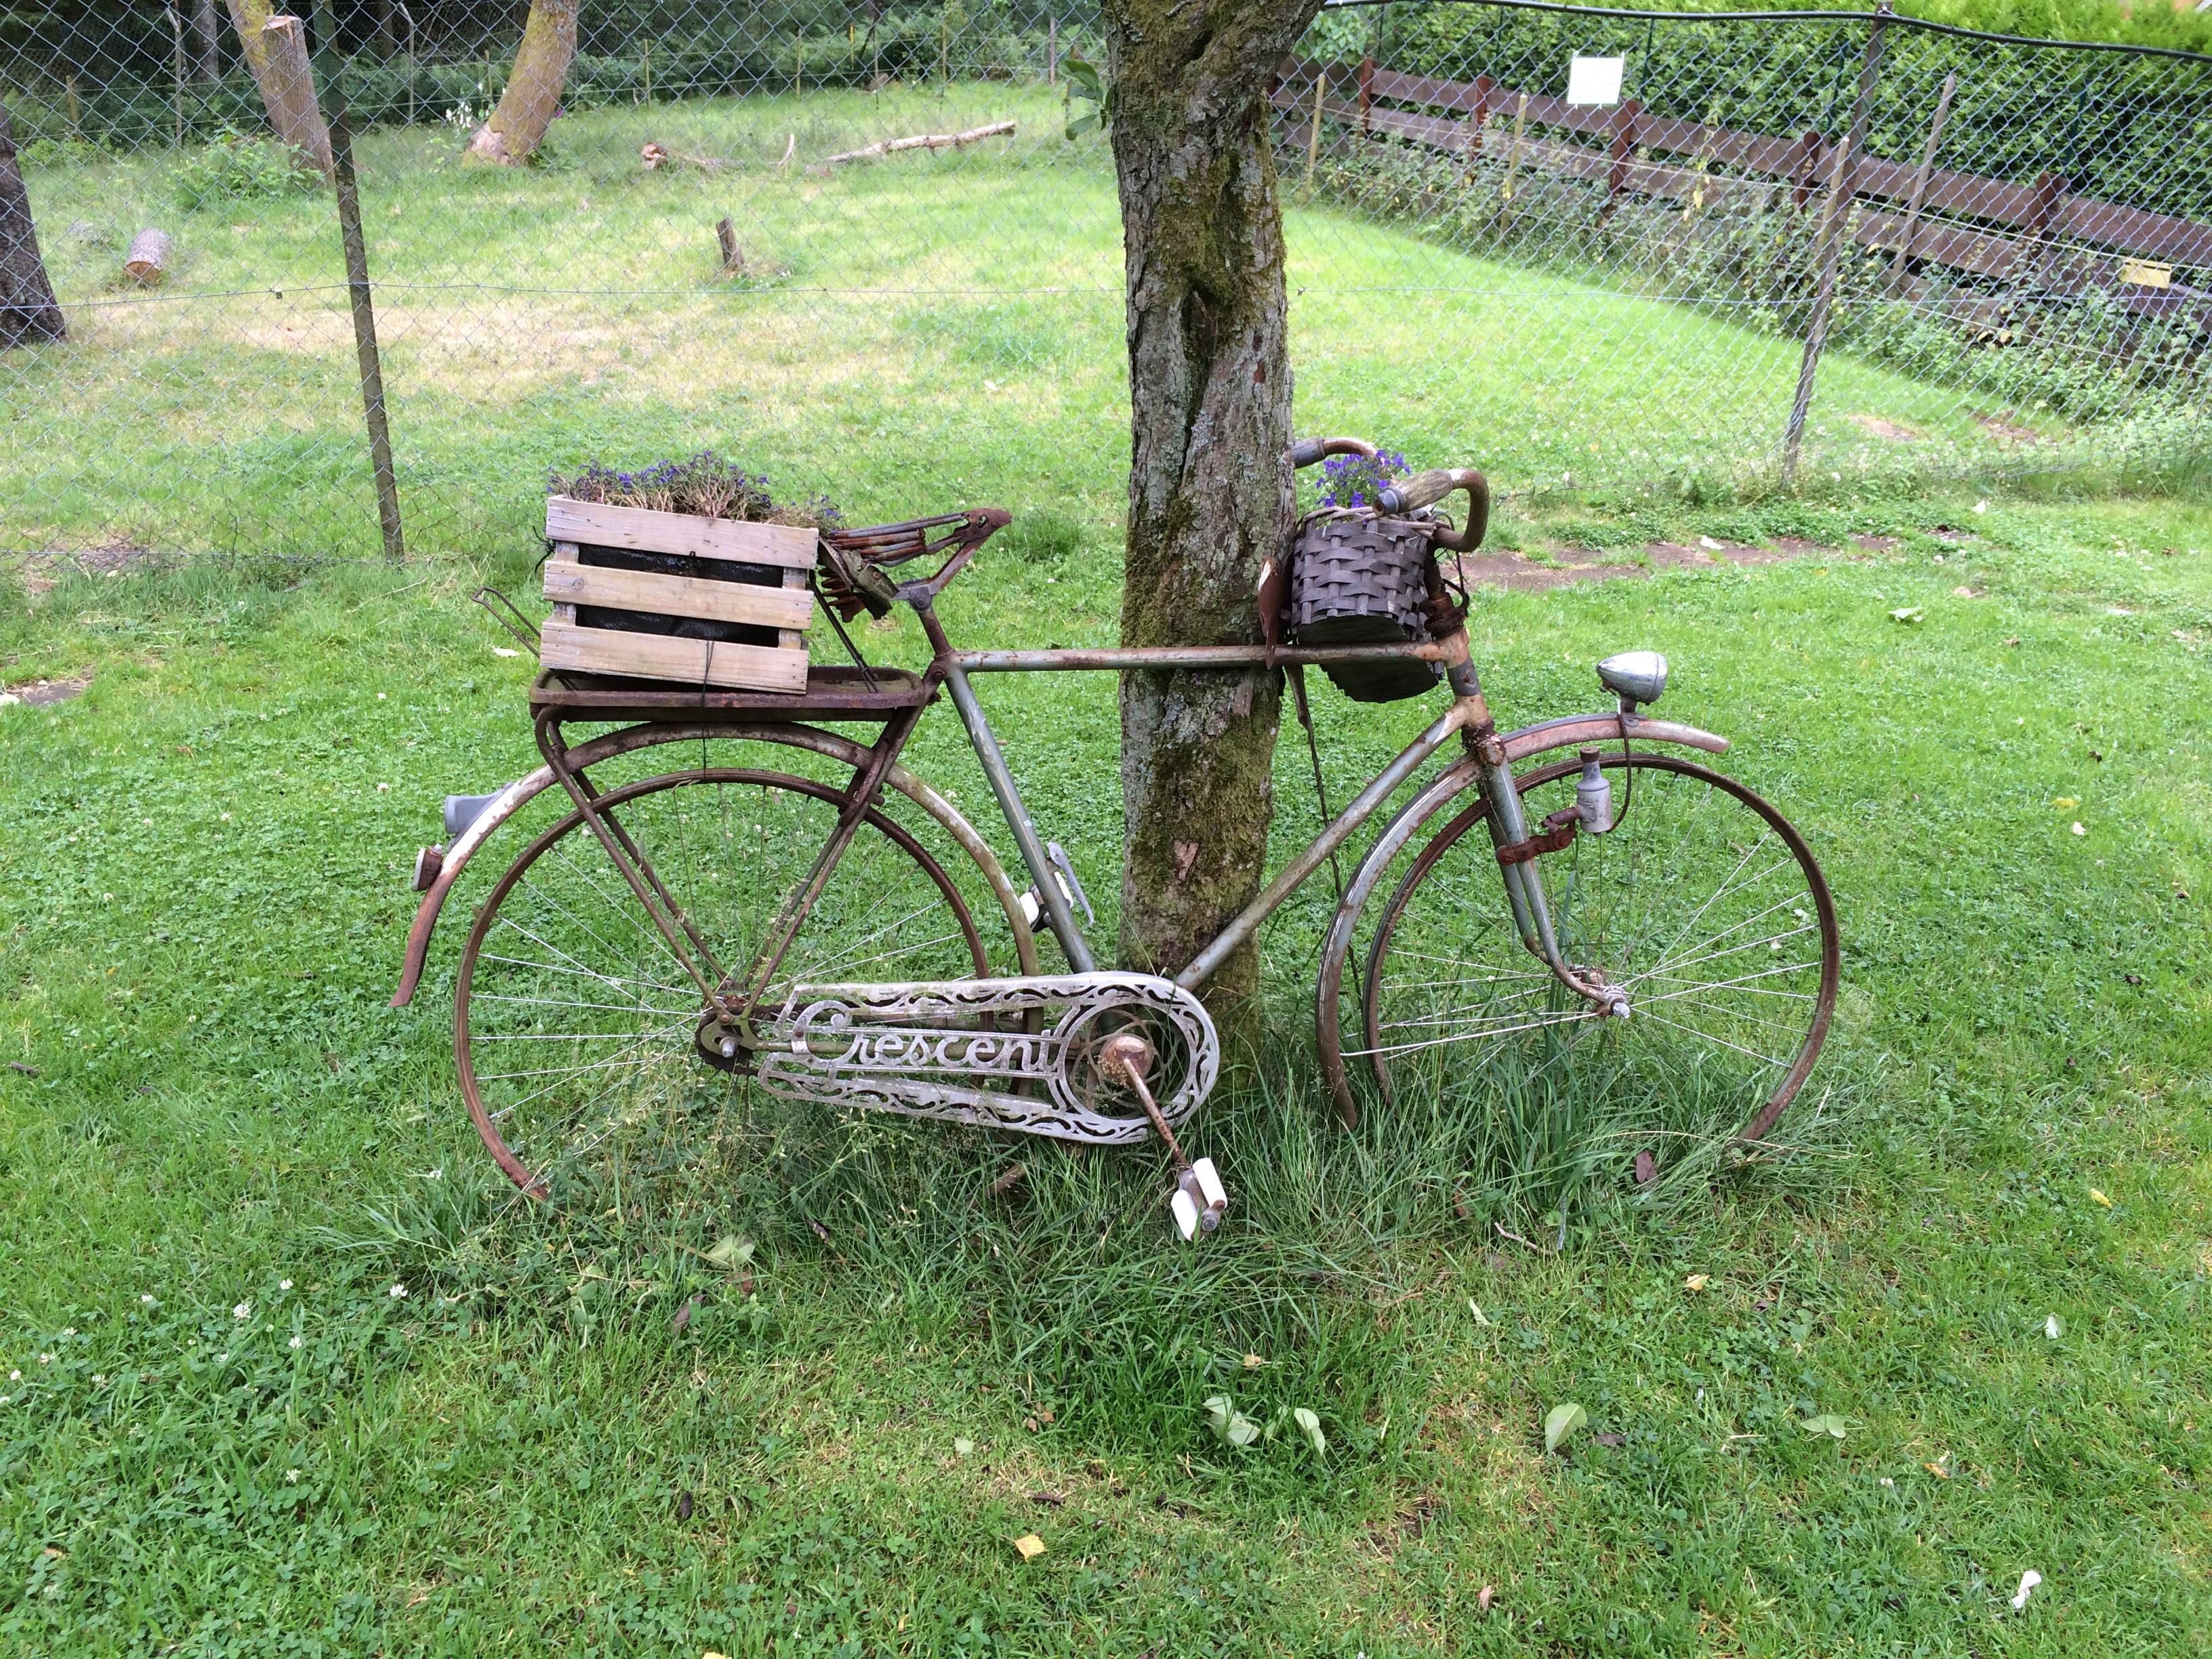
Becoming an expert at home bike mechanic is like anything else, you take one small step at a time. Here are simple steps to get you started.

Keep Your Bicycle Clean:
Sounds simple, but it is half the battle. A regularly cleaned bicycle will last longer and ride better.
Some people simply use a hose as well as an old toothbrush to get at the hard to reach places. There are a few tools that I would recommend to do the job even better though:

Bike cleaning brush
Chain scrubber
Degreasing Solvent
Chain lubricant
Rags and Sponges

Use all of the above with some soap and a water hose. My Dad used to always say that his car ran better when it was clean. So does our bike. Everything in our life needs a little regular love and attention to keep it working properly.

From: expertenough.com

DIY Light Box

DIY Light Box

DIY Light Box 

If you've read the post on how to take great product pictures, you've read about the importance of light in your pictures.  When using natural light isn’t possible or just doesn’t work for your particular needs, a light box is often the next best alternative. This post will demonstrate how to make a DIY Light Box. No need for any fancy materials or supplies. Many of the items are probably things you have at home already!

List of Supplies:
1. Cardboard box
2. Box cutter or X-acto Knife
3. White printer paper or White Tissue Paper (the type found in the gift wrap section)
4. White poster board
5. Portable lamp
6. 100 watt white light bulb
7. Double sided tape (or regular tape that you roll up on itself)

Directions

About the cardboard box. It should be large enough to hold the items you are photographing but not so huge that you can’t store or transport it easily. After assembly, remove the top flaps of the box. You want this part to be open. Next, using your box cutter or X-acto Knife, cut the sides out of the box leaving a small border around the edges. You are going for a “picture frame” look on all sides. Do not cut out the bottom!

Once all your sides are cut out, apply double sided tape to the inside of each “frame”. This is where you will be applying the white paper. The goal is to (as seamlessly as possible) cover the inside of the box with your paper. We are trying to make an environment as free from color and shadows as possible.

Voila, you’ve made a light box! Now get busy taking pictures and posting your stuff. I find it works best if you go into a dark room and put the lamp as close to your box as possible. If you are not getting the desired lighting, add more lamps. I’ve seen examples online using up to 3 lamps at a time.


From: thepreparedmother.wordpress.com

free printable advent calendar

Free Printable Advent Calendar from Ella Claire

Free Printable Advent Calendar

This adorable free printable Advent Calendar is amazingly charming. With endless options to customize, you can definitely make this project fit any decor! Please visit EllaClaireInspired.com for more beautiful pics and the full tutorial! 

I have been wanting to create an advent calendar for a couple of years now, and I finally got to it this year! When I was a kid, I loved those little ones with the candy in all of the slots. I wanted my babies to have something fun to be excited about each day too. It is no secret that I love vintage typography and that is the direction I went with these. I love vintage Christmas!

Source: Free Printable Vintage Christmas Advent Calendar – Ella Claire

gingerbread house diy

Gingerbread House DIY from Three Pixie Lane

Not Your Average Gingerbread House

This is the sort of Gingerbread House DIY that I can find myself getting excited about! If you've ever dreamed of curling up with your honey in front of a fire while sipping a warm and cozy mug of something, then you probably imagined yourself in a rustic lodge such as this one! There is something so very romantic about this scene. While most of us in today's society are far removed from such an environment, we remain wistfully nostalgic. 

From Three Pixie Lane, we bring you the Gingerbread Log Cabin!

We worked on this over several days.  My son and I had planned to enter the local town contest; however, we missed the admission deadline.  Also, I believe the rules are that everything has to be made of food.  The car and the bottle brush trees would have to go, but for our purposes, they add such character!

Source: Three Pixie Lane: Gingerbread Log Cabin

Diy Rice Bag with Heart Detail

Diy Rice Bag with Heart Detail

Such a sweet little DIY rice bag and easy to make with supplies you probably have on hand. These make great paperweights, sachets, or even eye pillows if you make them a bit longer. They are endlessly customizable with fabric "stuffing" combinations for everyone! I've made a few with buckwheat and lavender before and they work wonders for aching wrists. For an extra special touch, use all organic components and gift them to someone you know who might have sensitivities to chemicals or pesticides. Even when the weather may be in the higher temps, these little rice bags are a comfort to those suffering from sore muscles or aching joints. Add a cup of lavender buds for extra soothing.


Click the link below for the full article.

From: www.iheartnaptime.net

DIY: Pumpkin Spice Lattes

I will not deny it, while I am able to resist the lure of Starbucks for most of the year, come Fall my resistance becomes futile and I go full-blown Borg. All Summer long, I look at those waiting in line for high dollar coffee and smugly walk on by. This only works until Starbucks rolls out their famous Fall drinks. Perhaps this year, armed with this recipe, I can resist!


In the next few weeks, Starbucks will bring back the rock star of latte, the queen of froth, the obsession of millions: The Pumpkin Spice Latte. But if you don't want to wait until the full launch, or if you just fancy making it yourself at home, we have your back!

Here's how to make a spicy, frothy pumpkin spice latte at home. It's so easy, and you'll have enough to share with someone you truly love. Don't skip the whip.

via How To Make Pumpkin Spice Lattes (Even Better than Starbucks!) — Cooking Lessons from The Kitchn | The Kitchn.

How to Make Homemade Dog Treats

How to Make Homemade Dog Treats

When I made changes to my own diet and switched to eating plant-based, whole foods, it only made sense that I started to rethink what I fed my dog, Benny. After all, he’s my baby, my little boy, my heart. So I changed his diet to consist of healthy, whole foods as well, and every day, I prepare his dinner along with mine. Benny is very picky, so finding biscuits and treats that were healthy as well as appealing to him was a bit harder. I decided I needed to learn how to make Benny yummy dog treats at home.

There are a lot of benefits to making your own dog treats: you get to control what ingredients go into them; you can avoid all the preservatives, additives, fillers, and byproducts; you can cater to any of your dog’s dietary restrictions, and you can choose the flavor combinations your pooch loves most. With all of the recalls on dog treats these days, there is nothing more comforting and rewarding than knowing you are giving your fur baby treats that are healthy, safe, and of course, filled with love.

Making homemade dog treats is an easy way to show your dog some extra love. Just be aware of which ingredients may be toxic to dogs such as macadamia nuts, grapes, raisins, chocolate, apple seeds, and large amounts of onion and garlic. Every dog is different, so please check with your veterinarian to see which ingredients are suitable for your dog.

From: www.onegreenplanet.org

DIY Vertical Plant Hanger

DIY Vertical Plant Hanger

diy vertical plant hanger


Yes! This is a wonderful and quick project that you could whip up in an afternoon. If you've joined the succulent team, you probably are finding that you need more creative ways to display your lovelies! While a shelf full of plants is beautiful, this DIY Vertical Plant Hanger is just the thing to tuck into a corner and fill with your beautiful potted friends. I hope you enjoy the article and get inspired to create something new!

Hi again, friends! Are you ready to get your hands a little dirty? Go grab your garden gloves and some pretty plants, because today we’re going to create a gorgeous DIY Vertical Plant Hanger! This project makes a beautiful display for your potted plants without taking up a ton of room. Perfect for small spaces! Let’s get started…


From: www.iheartnaptime.net

DIY Magnetic Memo Board

DIY Magnetic Memo Board

diy magnetic memo board

Well this is awesome! If you love the hardware store (and why wouldn't you) then this  DIY Magnetic Memo Board is for you! I have quite a few frames stacked in the garage that I've been saving for just the right thing. With 2 girls in middle school, memo boards are an often used tool here in our house. If the hardware store isn't your idea of a good time, you can probably pick up most of the supplies for this project at a thrift store. Plan ahead and shop for the supplies a day or two ahead so when you get the time to make this memo board you will be ready to go!

From: www.iheartnaptime.net

DIY Button Bookmarks

DIY Button Bookmarks

I know you have them, lurking hidden in jars and baggies in your drawers and cabinets. Buttons are everywhere in your stash, and they want to be used! These precious DIY Button Bookmarks are quick and easy. While you're probably not going to break into your awesome Bakelite collection for this, there have to be a few "expendables" in your collection!


Today I have a fun, quick & EASY tutorial for you. Don’t you just love the words quick and easy?!
I’ve been wanting to make some bookmarks for the whole “back to school” theme and I decided to make some button bookmarks with my large button stash. You guys know how much I love creating things with stuff I already have around the house, right? Well here is another one of those projects. I’m sure you ALL have some paperclips and buttons laying around. Pull them out and make these simple and cute bookmarks.


From: www.iheartnaptime.net

making candles

Making Candles

Making candles doesn't have to be a chore! It can be quite fun. If you need candles, I recommend setting aside an entire day and several pounds of wax to get all your candle making out-of-the-way while you have the whole production up and running. If you are just trying it out for the first time, don't sweat it! Relax, have fun, be safe. Above all, take your time!


Let's start with a list of supplies:

. Tall thin metal can to hold the melted beeswax. You want it taller than you intend your finished candles to be. Keep it thin  to reduce the amount of wax you will need.

. Large saucepan that you can use for candle making and nothing else. Trust me, you WILL be getting wax in this pan!

. 10 + pounds of beeswax. (I prefer 100% beeswax candles but especially for your first attempt you shouldn't hesitate to supplement with paraffin.)

.Wicking. The size of your wicking depends on the finished candle you want to make. We made tapers and so used #2 cotton wicking. You can find a good one here.

. Weights for the bottoms of your wicks. Trust me, you cannot dip candles without weights. We took the advice of The West Ladies and used small nuts from the hardware store. They are the same as these.

. Something to hang your candles on while they cool. The rack in the picture is certainly the deluxe version of this! We usually use our pasta drying rack.

Once you've assembled all of your supplies, it's time to measure out your wicks and precut them. Because you are dipping them, you should double the length you want your finished candles to be and then add 1.5 inches. For instance, if you want a 6 inch taper you will cut your wicking to 13.5 inches. The idea is to have enough wick to tie the weights to and have enough left over at the top to light!

After your wicks are cut and weighted, you can start melting you wax. Set your tall thin can into the saucepan. Add water to the saucepan almost to the top. Your "wax" can should be taller than your water! You don't want water getting into you wax. Set the water to boil and add wax into your wax can. Continue to add wax until the level reaches the desired height. As the wax begins to melt, you can lower the temp on the water. It doesn't have to be constantly boiling. If you notice the wax in the can begin to harden, simply raise the heat a little.

When your wax in the can is the desired height and is fully melted, you can start dipping! Hold your wick at the middle point and lower it straight down into the wax. Hover over the wax can for a few seconds to catch any drip and then hang your first "candles" onto the drying rack. Move on to the next wick and repeat. Once all the wicks have had one dip you can start re dipping the wicks. It's a simple as that! Continue re dipping the wicks until you have built up enough wax on the wick to make the candle the thickness you desire!

I hope this has encouraged you to try your hand at a new skill. There are plenty of tutorials on YouTube if you would like a visual demonstration!

Clean your makeup brushes.

An All-Natural Way To Clean Your Makeup Brush

Do you clean your makeup brush?

Go ahead, admit it … the thought of cleaning your makeup brush doesn't occur to you very often (or at all!), does it?

I used to be like that until I realized that even though I was taking the utmost care to only use natural makeup and skin care products, I was applying everything with dirty brushes. All it took were a few breakouts to get me thinking about what I was doing wrong and it soon occurred to be that dirty tools were the culprit.

I'm happy to report that since cleaning up my brush-cleaning-act, my skin is clearer and my brushes not only look nicer, they're performing better than ever!

via A Simple, All-Natural Technique For Cleaning Your Makeup Brushes – mindbodygreen.com.

5 Benefits of Coconut Oil

~5 Health Benefits Of Coconut Oil

1. Weight Loss
Coconut oil contains medium-chain triglycerides that are metabolized differently than fats from other oils. These unique fats may help with weight loss.

2. Strengthen the Immune System
Coconut has a special ingredient, which makes it excellent for fighting microbes, called lauric acid. In the body, lauric acid is converted into monolaurin, which has antiviral, antiprotozoan and antimicrobial properties.

3. Important Minerals AbsorptionThe fats and substances in coconut oil help your body to better absorb calcium and magnesium, which are important for bone health.

4. Great for Cooking
The problem with other kinds of vegetable oils is that when heated they turn rancid. Rancid oil is obviously bad and vegetable oil is responsible for bad cholesterol. However, when coconut oil is exposed to heat, it’s been found to resist mild heat damage. Coconut oil doesn’t turn rancid.

5. Natural Moisturizer
Coconut oil has also benefits when applied to the skin. It’s often used for massage, to knead away tired muscles. It also has great moisturizing benefits, and can be used in the place of any body lotion. Coconut oil also has plenty of anti-aging benefits, and can help protect the skin from free radicals, which can cause skin to look older and more tired.

To see the original article:

http://www.curejoy.com/content/5-health-benefits-of-coconut-oil/#PhotoSwipe1417970852676

diy hot air balloons

You Can Do This! DIY Hot Air Balloons from Fabric Paper Glue

You Can Do This!

These DIY Hot Air Balloons hanging lanterns are so freaking adorable! I know what you are thinking, it looks waaaaay too complicated. The beauty is that it's really not that detailed! The creative genius at FabricPaperGlue.com has laid out her tutorial here. If you make them, you've just got to share pictures of your results! We promise to link any pics shared in the Community to this article so everyone can see!

Lemon Sugar Scrub

Lemon Sugar Scrub

Lemon Sugar Scrub

I’m all about using what you have, so when I found this Lemon Sugar Scrub DIY while searching the internet for recipes to use my plethora of lemons, I jumped right on it! All the recent rain in Northern California has given a boost to our fruit trees and we’re overflowing with lemons and oranges. While no one is complaining, (maybe just a little bit) there is only so much lemon-curd, lemonade and lemon bars that one family can handle.

Have you ever planted too many zucchini plants and then became that lady? That’s me right now with the lemons. People see me coming with a plastic grocery bag of lemons and suddenly become very interested in something on their shoe. Seriously, would it kill you to make eye-contact with me?

In this DIY from www.iheartnaptime.net, learn to make you very own Lemon Sugar Scrub. It’s a good idea to make a double batch, I’m willing to bet you will want to keep some for yourself.

From: www.iheartnaptime.net

DIY Marquee Letters

DIY Marquee Letters

It’s about time for a fun, new project from the office makeover, right? I thought so, too! With all the traveling and side projects I’ve been doing lately, it hasn’t left much time to work on the projects I’ve had up my sleeve, so it felt really good to bust this one out yesterday! Marquee letters are wildly popular right now, and I couldn’t wait to plow through this office makeover so I could DIY some for myself.

I knew from the start of this makeover that my office was going to be the new headquarters for Love Grows Wild. I create in here, write in here, get inspired in here, and frankly I eat and sometimes sleep in here too, but that’s besides the point. I had been brainstorming some kind of DIY sign that had my blog logo on it, but then it hit me… this is the perfect time to do those marquee letters I had been dreaming about! I thought this project would be a little intimidating, but it was honestly super easy to do, and I finished everything in just a few hours, including paint drying time and taking step-by-step photos for you guys to enjoy.


From: lovegrowswild.com

DIY Pillow Cover

DIY Pillow Cover

DIY Pillow cover? Why not! I knew this project was for me as soon as I saw the words "DIY" and "Hardware store". Absolutely hands down, if I can get my supplies from the hardware store you can count me in! While I may not make hundreds of pillows, a couple are certainly do-able in a rainy day afternoon. A few of which I am hoping will be forthcoming! 


Those canvas drop cloths you find at the hardware store for painting are PERFECT for creating neutral, casual pillows, and they are so darn cheap, you could afford to make hundreds of pillows if you wanted. They come in different sizes, but the one I bought was 9’x12′ and cost me barely $15. That’s a lot of fabric to work with! I definitely recommend running the drop cloth through the washer and dryer once before you do anything with it. This will soften up the canvas and get rid of any wrinkles or stiffness.


From: lovegrowswild.com

DIY Vintage Sign

DIY Vintage Sign

diy vintage sign


DIY Vintage Sign

Here is another great DIY from the creative genius over at iheartnaptime.net. This sign could manifest in a million different ways. Trust me, I have an entire Pinterest board of Vintage Sign inspiration! I would love to spend the weekend with this gal and get some creating done! I've seen several signs in my travels that I would love to have but can't see myself shelling out the ridiculous money that they are sometimes asking.

With this DIY, you don't have to break the bank to have an authentic (looking) vintage sign that's just right for your decor.

Click on over for the full tutorial.


From: www.iheartnaptime.net

DIY with Buttons, Thumbtacks!

DIY with Buttons, Thumbtacks!

If you like buttons, you know they lend themselves to collecting! This DIY with buttons to make thumbtacks project could be just the thing to get your creativity flowing. It's also a great project for older children (before they get too "cool"  to craft with Mom)! While you've got all the supplies out for this project, you might as well whip up  few of these Button Bookmarks too! Remember, it's never too early to start making Holiday Gifts! 

I, for one, find myself with what most would consider a lifetime supply lf buttons. This DIY, therefore, is right up my alley! 

We would love for you to try it out and post pictures in the showcase. Let's share our experience.

Please click the link for the fill article and tutorial.


From: www.craftsbycourtney.com

Make Your Own Hot Cocoa Mix!

Make Your Own Hot Cocoa Mix!

I secretly love those little packets of hot cocoa mix — but I recently decided to quit buying them and start making my own. The nice thing about making your own hot cocoa mix is that you have free control over what goes into it (and what stays out of it). Like yours super chocolatey? No problem. Want to take down the sugar and add a bit of cayenne and cinnamon? Do it. Today, I'm sharing my recipe for basic hot cocoa mix, plus a few suggestions for mix-ins that I've been loving lately.

The basic mix itself should stay fresh for at least 4 to 5 months if kept stored in an airtight container, out of direct sunlight, and at room temperature — no need to refrigerate. (I should say that the mix I make never sits around in our cupboards that long, since we drink it up, but there's nothing that would go terribly rancid here or that I'm worried would spoil).

All winter, I've also been sipping Theo's drinking chocolate. I initially fell for it because it contains actual chunks of chocolate — it's not a dusty, dry powder. So for my homemade recipe, I decided to hand-chop some chocolate so it would be more in line with Theo's delicious mix. If you're pressed for time, you could chop the chocolate in a food processor instead; I just like the uneven nature achieved by hand chopping it.


From: www.thekitchn.com