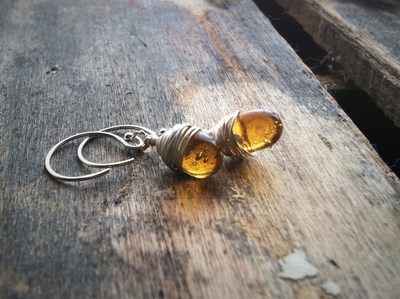
Want to know how to take great product pictures?
In order to convey the awesomeness of your creations, you need great pictures. This peost will share tips on how to take great product pictures.
1. Be sure to set aside enough time to get the job done.
Any job that is rushed is probably not going to be your best work. It makes sense that if you want to get great results, you have to put some time into it. Try to make this time uninterrupted. Pets and children should be otherwise occupied!
2. Gather all your products to be photographed well in advance.
You’ve worked so hard to set this time apart, make the most of it! Gather all products, cameras and props well in advance of your start time. This will ensure you don’t have to waste precious time.
3. Take multiple pictures of each item.
You may think you are getting great pictures. The truth is that you won’t really know until you sit down to edit them. Take multiple pictures and from different angles. This way, when you finally get ready to edit you won’t have to settle for “good enough” because you’ve already put all your materials away. Make sure to get a really good close up!
4. Edit your pictures!
Even basic editing, such as cropping, can make a huge difference. If you’re taking pictures with your smartphone, it probably comes with built in editing. If not, consider downloading an app such as Instagram. It’s free and you will not be disappointed!
5. Use natural light.
Take your pictures near a window if possible. Avoid using artificial light and never use the flash on your camera as it will not convey the true colors of your item. If your schedule precludes taking pictures during the day consider buying or making a light box. Check our “Sellers Tutorial” page for how to make a light box of your own!


